
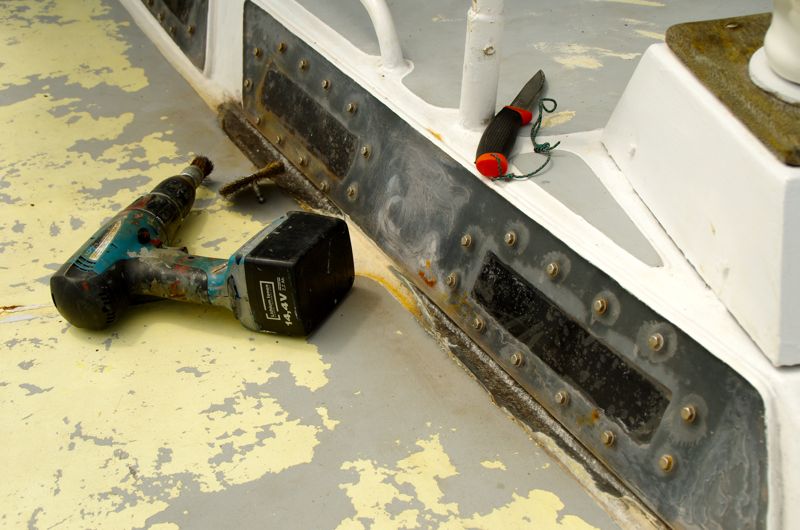
After our last sailing voyage we spent five days getting all the saltwater out of our boat and everything washed again. As we don’t like to repeat this experience, the newly found leaks were on the top of my ToDo list. And as the beach is too beautiful and the coral too colorful I look the other way grab screwdriver, hammer and chisel and start attacking the rust !
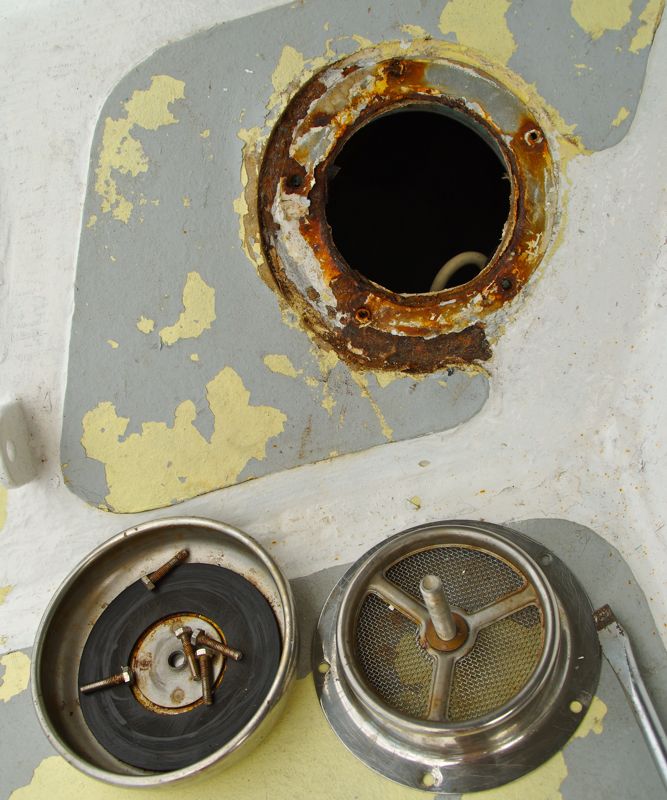

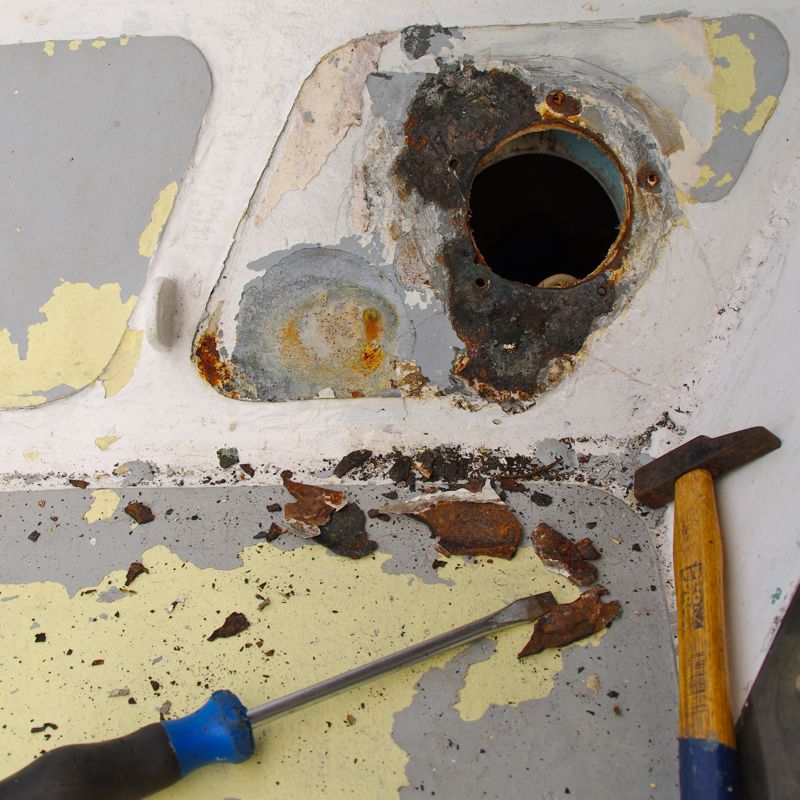
My starting point is the little vent in the kitchen. Sometime ago there was also an electric ventilator installed but corrosion has eaten it away probably years ago. The Vetus vent itself, I replaced back in Moorea as the old one didn’t even close properly. But somehow water still found it’s way in – so I remove it completely and discover some realy nasty stuff: The leak probably existed for many years and not much is left of the 4mm of steel that our deck is made of. So I start the old game: first hammering the loose material away, then brush the metal until it looks somewhat stable. After cleaning it, I soak everything with phosphoric acid. Half an hour later the acid has done it’s magic and converted all the rust to black ferric phosphate. Now I clean again with freshwater and let it dry. The epoxy primer appears on stage and gives the ugly spot a nice, watertight cover. During the next days, I will paint additional layers of white polyurethan paint. Time will tell how that combination works out….

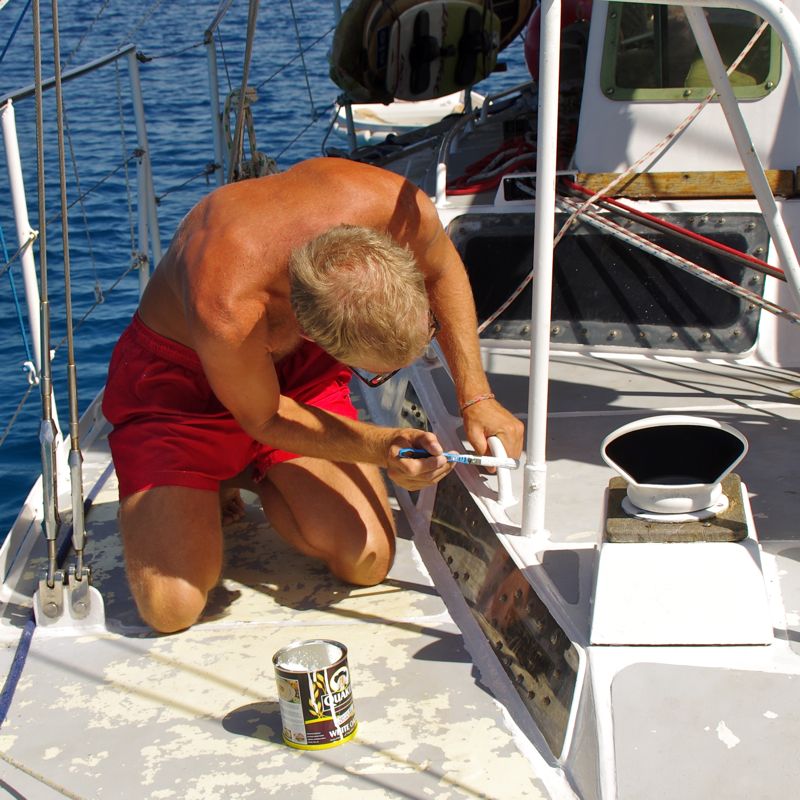
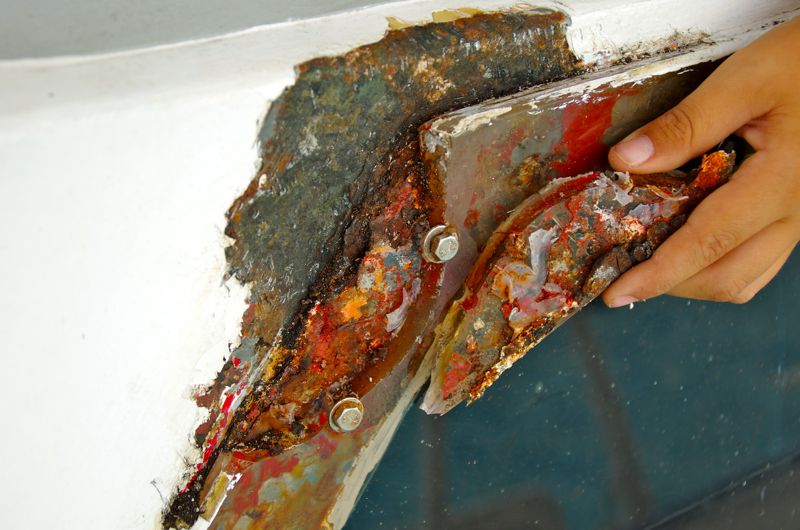
But as I’m already at it, I crawl around on deck and open more and more rust spots. Some are easy, others quite nasty. The always leaking bathroom window was missing a fitting underneath the handle and the window itself wasn’t glued to the deck with Sikaflex or 3M-50200 but instead sat on a 1cm layer of filler (the one that is used for fixing bumps in cars *rrr*). In general I usually uncover two or three generations of household silicone which if at all is only to be used inside the ship. – Well it’s an amateur construction, one can tell.
Like this I work for five days on my knees with chisel and power drill in my hands.
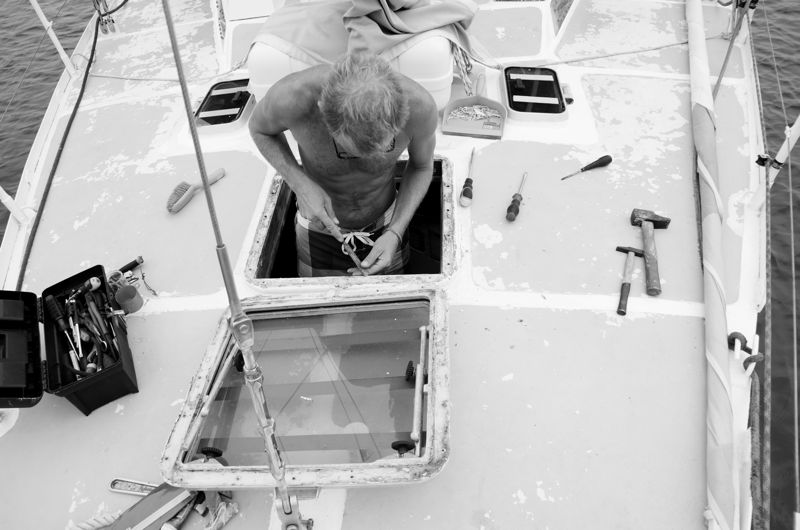
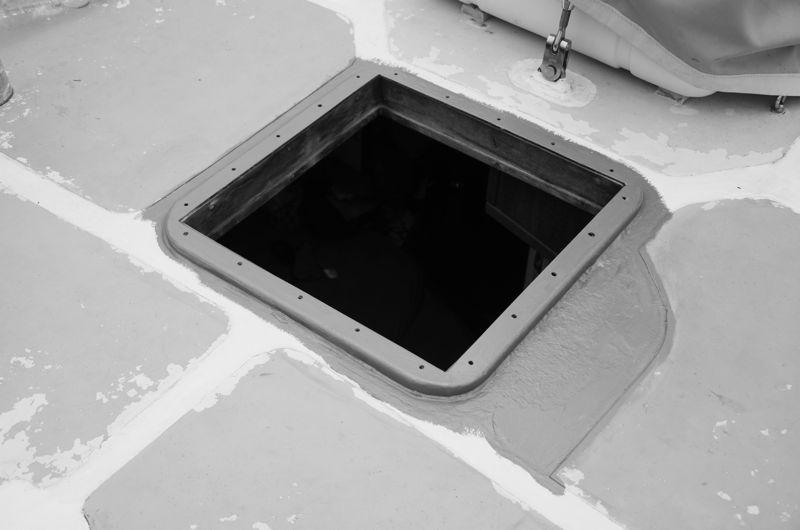
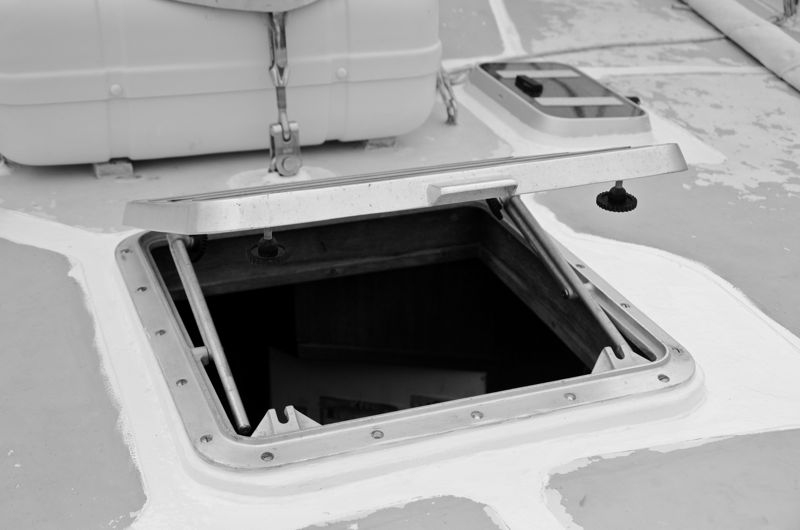
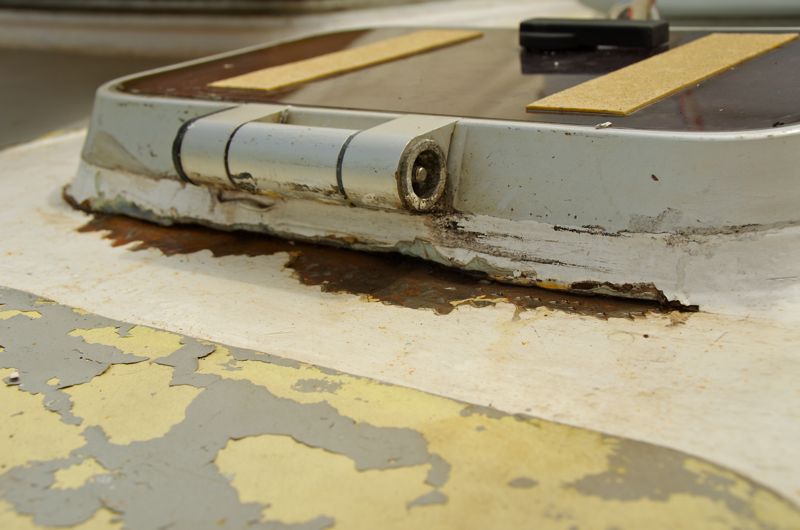
We discovered that the hatch on the foredeck also leaks water *underneath* the frame and onto our children’s beds. So I take the whole hatch off and again ramove three layers of silicone and cheap one-component paint. I polish the aluminium frame and after painting everything in the above mentioned manner, I glue it back in with Sikaflex. Also I turn the whole hatch a 180˚ so it now opens to the front. That will let a lot more air into the cabin and make our life more enjoyable in those hot regions we’re cruising in.
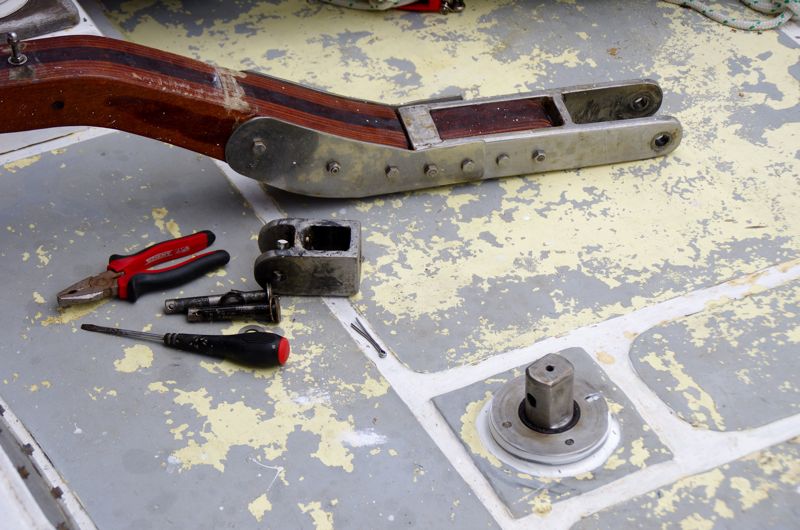
My last item on the todo list ist the tiller, which I dismount to put in nice, water resistant marine grease and again glue everything together again. Now all the leaks have been worked on - if they really hold up against the waves only our next trip can tell…